How to Install Under Tread Stair Lights
Think about the most striking and gorgeous deck and outdoor areas you've seen? What do they all have in common? Some have incredible locations with breathtaking views. Some expand as far and wide as the eye can see and dazzle you with their size. All of them, however, will feature stunning deck lighting designs including stair and step lights to invigorate the space.
The most common outdoor stair lights of the past few years have been recessed lights which are installed flush in the riser board (or vertical board) of each step. Both visually attractive and helpful, recessed stair lights are always a solid choice.
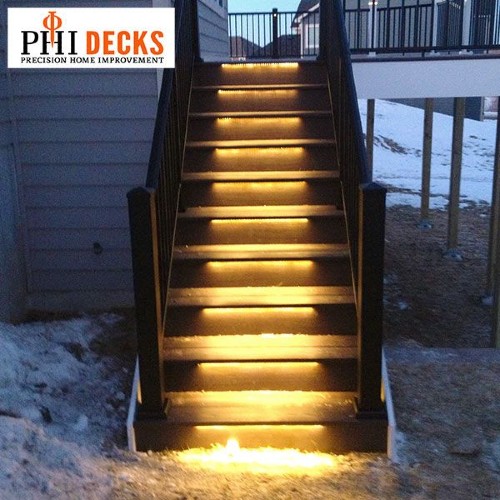
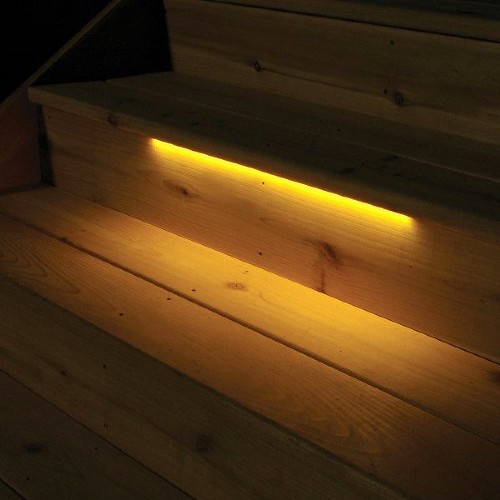
For homeowners and DIY deck builders looking to give their outdoor living space more excitement and pizazz, however, LED strip lights applied to the stair treads are an awesome, modern deck lighting option!
How to Attach Under Tread Step Lights
Learn how to attach under tread step lights and propel your home's deck light design to the next level for 2021!
Install Deck Lights Under Deck Stair Steps for Increased Safety!
Easy Instructions on Installing Stair Tread Lights
1. Count and Measure Outdoor Staircase
Take note of how many steps are on your deck, porch, or patio stairs. Use your tape measure to find the width of each step from left to right. With both of these numbers in hand, you're ready to choose your deck stair lighting design!
2. Determine How Illuminated You Want Your Outdoor Space
Is your backyard in a generally well-lit area such as a neighborhood with streetlamps? You may want to consider only installing stair lights on every other step. This will increase the safety of family and guests while ascending and descending the path without overpowering the atmosphere of your backyard area.
Is your home in a more rural or tucked-away place far from any streetlamps or ambient lighting? It's more likely that attaching tread stair lighting to each level in your outdoor staircase will be a better choice. This helps expand the look of your yard's outdoor reach while ensuring that every stride is visible.
3. Position and Prep Your Deck Lighting Transformer
Depending upon the manufacturer and number of deck lights you've chosen, set up your light transformer. Deck lighting transformers plug into the standard GFCI outlet on the outside of homes and garages and are placed beneath the deck to stay out of sight.
Having a hard time determining which low-voltage transformer you need? Speak with one of our deck designers at 1-888-824-5316!
4. Plan and Prep All Wiring
Whether using plug-and-play wiring such as the systems from LMT Mercer, Trex, and Dekor, or the hard-wiring designs from Aurora Deck Lighting; double-check your lengths are accurate. With all of the extension wires in place, you're ready to install!
While planning your wiring layout, you'll want to consider how you'll be concealing your deck light wiring. Many deck builders will use a 1-inch wide Forstner drill bit to create an opening hidden between the tread and riser board to run their wires through without being visible.
Other DIY deck light installers will run their deck light wires through the gaps between the stair boards for a concealed look.
5. Mount Your Under Tread Lights
LED lights attached under stair steps will be mounted in one of three methods: via a housing, with silicones and adhesives, or with included installation screws.
LED strip lights such as the Odyssey LED Strip Light from Aurora feature aluminum housings for protected attachment to stairs and deck rails. You may attach these housings via color-matching installation screws.
Many lights like the Under Rail LED Light Strip by LMT Mercer or the Flex Deck LED Rope Light from Dekor can be attached to the board edges directly with Silicone Adhesive or included 3M Adhesive Tape.
6. Connect and Enjoy!
All of your wiring connections should be made with your deck lighting transformer plugged in. As these stair lights are low-voltage, no electrical charge can harm you, and this will help ensure that connections are made correctly.
With everything plugged in and working, you get to sit back, relax, and enjoy your home's outdoor living space! Cleverly add a programmable timer to have these lights turn on and off at certain times each day!


