How to Build a Deck with 45° Angles
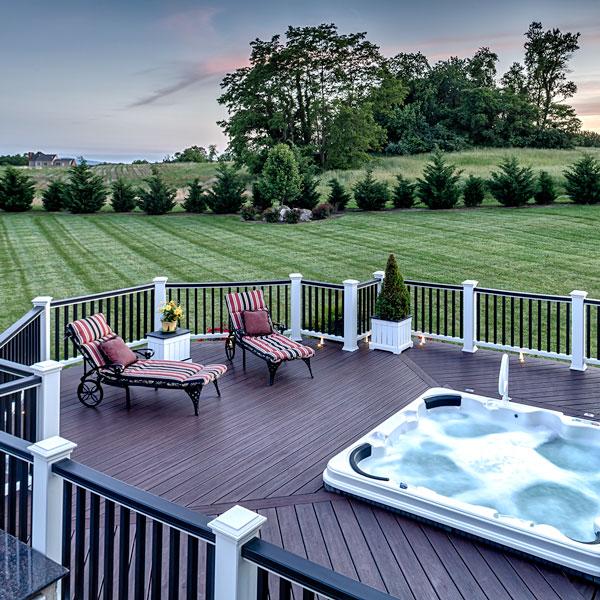
Building a new deck is an amazing way to transform the entire look, feel, and atmosphere of your outdoor living space while also accomplishing something you can be proud of for decades to come! If you're going to put the time, money, and effort into a DIY deck build; then you should craft a one-of-a-kind backyard oasis! Learn how to build a deck with 45° angles along the corners for a truly unique deck perspective.
Building a deck with angled corners, or learning how to make 45 degree deck framing, is a skill that will help set your home's outdoor space apart from the rest on the block. Angled deck boards deliver an eye-catching style while making your family's outdoor living area appear bigger and more modern.
How to Build a Deck with Angled Corners
Learning some simple tips and tricks on how to build a deck with 45 degree angles or how to make 45° deck framing can set you up for some summertime success! From correctly laying out your deck joists to creating the perfect angled corner to attach your deck boards and fascia boards, check out everything you need to know on how to build a deck with angled corners.
Want to learn more about deck frame-building basics before jumping in? Check out the Deck Framing Guide! You'll learn all of the deck terms, deck frame applications, and structural notes you'll need to create a picture-perfect deck frame for your outdoor space.
How to Build 45 Degree Deck Framing
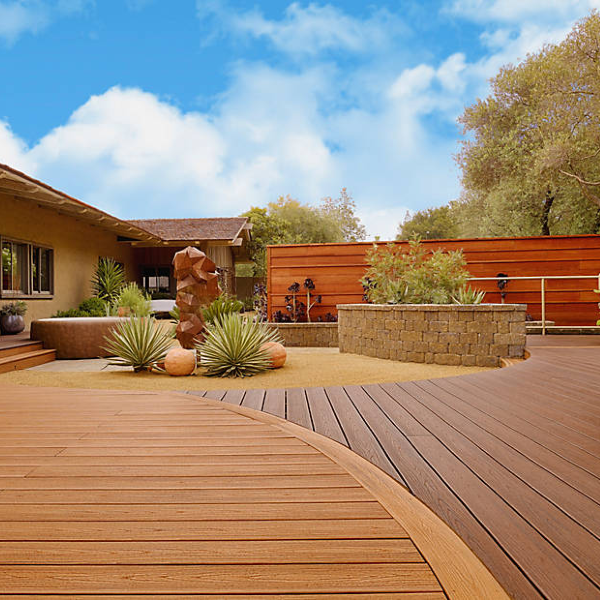
Forget boring old square or rectangular deck frames! We'll teach you how to create angled corners on your deck for a unique geometric deck design. Not only will this elevate the overall look of your deck, and when combined with deck stairs along those angles or exceptional deck board patterns, angled deck framing will create a strong impact that demands attention.
A general rule of thumb when building a deck frame is to space deck joists 16 inches apart on-center. Deck builders will also aim to leave an overhang of no more than 16 inches from the front of the deck beam to the fascia board for safety and structural integrity. The joist spacing and fascia board overhang minimums can vary from state to state and even county to county. Please confirm with your local building codes before building your angled deck frame. You can do this by checking with your local, city or county building authority.
Start Your Deck Frame
Begin building your deck frame as if it were the standard square deck frame against the ledger board of your home. To achieve an angled deck corner, you'll first cut the outside joist to fit your deck design. Using a circular saw, cut a 22.5° angle, half of the 45 degree angle. If your circular saw tilts the opposite way, choose to cut it with a reciprocating saw for easier access.
It is a good idea at this point to also cut the outside ply of your beam. The joint where the two beams meet doesn't have to be tight against each other, but the deck beams must be plumb and on the same level. Shim the deck beams, if necessary, to achieve this fit. Drill pilot holes and drive structural screws or structural hardware brackets to fasten the beams to each other.
Cut Joists to Fit
Set your carpenter's square along the top of the deck joists with the short side running across the inside of the bevel you cut on the outside joist. Mark a line where the tongue runs across the top of the second joist.
Measure the distance between the two deck joists. Transfer your measurement and mark out toward the front of the deck as shown. Attach joist hangers at the ledger. At the header use joist hangers, or drive construction screws through the header into the joists. To measure for cutting a joist at the angled section, hold it in place and mark it. Use a clamp to hold one end of the deck joist strongly against the ledger so that its bottom edge is close to the top of the ledger board. Connect with the strong joist hanger to keep firmly secured.
Create Your Deck Angle
Place your square on the top of the joists lining up with the inside of the bevel on the outside joist and the inside of the mark you just made. This creates a perfect 45 degree angle. Mark this angle across the top of the second joist and transfer that mark down the side of the joist.
Cut the excess off the end of the second joist. Similar to the outside joist, depeding on which way your saw tilts you may have to either cut from the bottom up or use a reciprocating saw.
Attach Rim Board for Angled Deck Corner
Cut a faceplate angle corner piece with a 22.5 degree angle on one end. Since the maximum overhang is 16 inches this should be a good deal of space to work with. If you are able to have a longer overhang be sure to cut this piece longer to allow for that. Measure between the cuts on the header and rim joist and cut an angled piece to fill the corner. Hold the angle-cut piece in place and drill pilot holes. Attach it with structural deck screws.
Attach Angled Deck Boards
Now you can lay your deck boards. (We prefer composite decking for its low-maintenance appeal). Since we will want a flush final composite deck board, stop decking once you are one deck board past the beam. Measure and mark 16 inches, for overhang, from the front of the beam onto the corner fascia board piece. Transfer that measurement up to the top of the joist. Measure from the face of your last deck board to this line.
To determine exactly where our framing will end measure from the front edge of one deck board to the front of the next. Repeat this for two and three deck boards as illustrated.
Fasten Fascia Boards Along Deck Perimeter
Mark the corner fascia piece to length and cut it at 22.5 degrees. Next attach the front fascia deck board remembering to cut the end at 22.5 degrees. Finish up by installing the final two deck boards along the top of the deck.


