How to Install a Post Cap Light
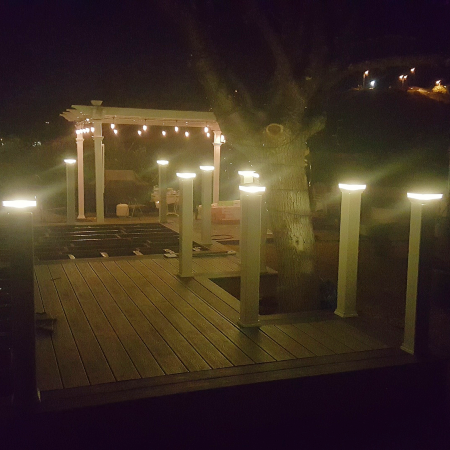
Give your outdoor living space a new view on nighttime fun with updated LED deck lighting and bright post cap lights along your deck railing! Available in a variety of deck product materials, post lights can be crafted as metal post cap lights, composite post cap lights, and wood post caps to suit your deck's style and atmosphere perfectly.
Installing a fence post cap light can complete your deck railing and outdoor aesthetic while protecting your deck posts from damaging water and debris. Post cap lights deliver a touch of detail to your deck space throughout the day and night.
How to Install Post Cap Lighting
If you want a late-night ambiance you can control, try low-voltage post cap lights, which can be controlled through your smartphone or a remote. If you want a set-it-and-forget-it option, you can set up solar post lights to come on when it's dark and turn back off when the sun comes up.
Check out how to install a post cap light in this helpful diy deck lighting installation video:
How to Install a Fence Post Cap Light
Before you install your deck post cap light, know that each deck lighting brand and fixture has its own specific installation instructions and wiring methods. Please read them carefully before beginning to make sure you've got the right tools for the job.
1) Prep the Post
If you're working with a wood deck post, start by drilling a hole into the side of the post. You'll usually want to do this on the side most hidden from view. Drill into the side of hte post, about 1-1/2 to 2 inches down from the top. This is where you will run the wire from your deck lighting transformer.
If you're working with a metal deck post, simply run your low voltage wire up from the bottom of the deck and through the center of your hollow metal deck post. Typically your deck lighting transformer will be mounted underneath your the surface of your deck for safety.
2) Wire It Up
Wood Post- Looking at the top of the wood deck post, mark the center by drawing two lines diagonally from corner to opposite corner. Then pierce the center of the X and drill down roughly 2 -3 inches into the top of the post. This channel should reach into the center cavity drilled earlier and will be where your low voltage wire carries on to connect to more lighting.
Metal Post- Snake the wire up through an opening in the baseplate bottom up to the top of the post. Set the wire down carefully to ensure it doesn't drop back down the post.
3) Make the Connection
Hardwire- Run your length of wire up to the post cap light leaving a loop at the top. Cut the wire loop and leave only enough wire to make deck light connections. Separate each wire pair into strands. Use wire strippers to remove a half-inch of sheathing from each wire including the wires coming from the light fixture. Take the positive wire from the light fixture and the two positive strands from your low voltage wire and connect with a wire nut. Repeat this process for the set of negative wires.
Plug-and-Play- Deck lighting brands such as Trex Deck Lighting, Dekor Lighting, Highpoint Deck Lighting, and LMT Mercer feature an innovative deck light wiring system typically referred to as Plug and Play wiring. This creates a simple DIY deck lighting install process. Plug and Play deck light wiring allows you to connect wire ends together via a hub, harness, or splitter, making deck lighting installation as straightforward as charging your phone!
4) Mount and Enjoy
Coil the post cap light wiring into the recessed hole in the deck post and place the cap on top. Turn on the lighting transformer and check to make sure that everything is working then secure your post cap light in place with either the included installation screws or silicone adhesive (sold separately). Low voltage lighting looks luxurious but installs easy!
Install a post cap light in minutes and gain a whole new way of seeing your outdoor living space all through the night!
Shop Deck Lighting
