How to Install Durables Vinyl Railing
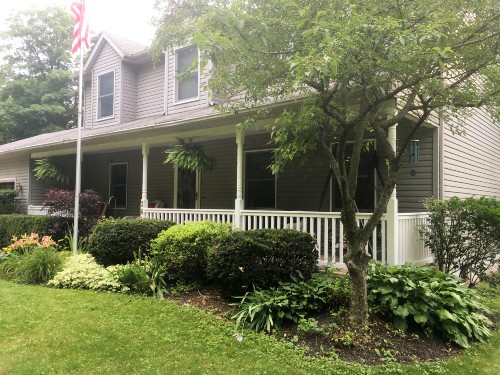
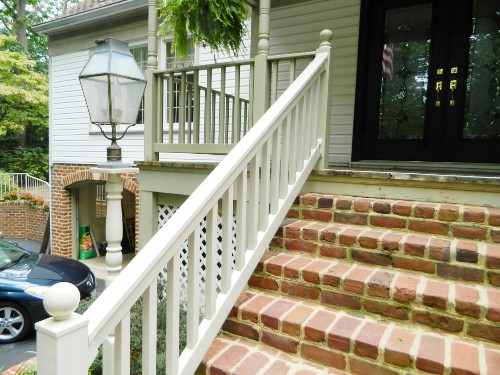
Classic and timeless vinyl deck railing systems can easily transform a neglected or damaged porch or deck back to its original glory in just an afternoon! Choose from the universally stylish Durables railing colors of White, Tan, and Khaki to perfectly accommodate your home's architectural style and design.
Check out how to install Durables Vinyl Railing systems easily and quickly for a wonderful deck railing renovation the whole neighborhood will notice.
How to Install Durables Vinyl Railing System
Durables Vinyl Railing Installation Instructions
1. Find Your Railing Section Opening
With your deck posts anchored in place, confirm that the wood deck posts or structural posts are level and plumb to the deck surface. Slide the Durables Vinyl post skirt and vinyl post sleeve over the post to rest on the decking.
Use a tape measure to find the exact opening space between the two deck posts. To allow room for the deck railing brackets, subtract 1/4 inch from each end of the vinyl rails. If the rails need to be shortened further, be sure to remove the same measurement from each end to ensure even baluster spacing.
2. Cut the Vinyl Rails to Length
Mark both the top and bottom rails to the same length and confirm that the picket openings line up. To create a clean cut, use a fine-tooth miter saw blade to cut the vinyl and aluminum rails at the same time.
3. Attach the Foot Block
If the railing section is 6 feet wide or longer, you will want to install a foot block. Center the foot block on your bottom deck rail, and while the foot block is in its collapsed state, attach it with the included 1 inch long screw. If the center of the bottom rail is located near a baluster opening, the foot block must be centered in that hole.
Attach the foot block mounting plate to the decking floor at the center point between the two deck posts with the included installation screw.
4. Prep the Bottom Rail
Determine the height between the decking floor and the edge of the bottom rail per your local building code. Generally, throughout the US, this height is around 2 inches, but can be raised or lowered per your area's building codes.
Place two spare pieces of wood cut to 2 inches on the ground and set the bottom deck rail on these blocks.
Slide the black mounting brackets of the Durables deck railing brackets loosely on the ends of the bottom deck rail. Center the mounting brackets on the respective posts and attach via the included 1-1/2 inch long screws. Drive two screws in on each side of the mounting bracket.
Then connect the vinyl deck rail to the mounting bracket with the provided 1 inch long installation screws. Drive two screws in on each side of the vinyl rail.
4. Finish Installing the Foot Block
Once the bottom rail is installed, pull down the foot block to its full position. Drive the included installation screw through the side of the foot block and snap the screw cap into place.
5. Insert the Deck Balusters
Insert and push down the vinyl deck balusters fully into the routed-out holes of the bottom rail.
6. Add Top Rail
Line up the top rail over the open ends of the inserted balusters and enter the pickets into each coordinating opening while lowering the top rail into place.
Before connecting all balusters to the top rail, loosely slide the black mounting brackets on the ends of the vinyl rail. With all balusters fully set into the vinyl top rail, center and attach the black mounting brackets to the deck posts with the provided 1-1/2 inch deck screws. Drive in 2 screws on each side of the rail.
Fasten the top rail to the mounting brackets using the included 1 inch long installation screws. Drive in 2 on each side of the rail.
7. Add Finishing Touches
Beginning with the smallest piece of the bracket cover, gently slide and snap the covers into place over the attached black mounting brackets.
Attach and set your favorite vinyl post cap design to complete your Durables Vinyl Railing system design!

